
Red Velvet Cake is more than just a visually striking dessert—it’s a timeless classic known for its smooth texture, delicate cocoa flavor, and luxurious cream cheese frosting. Whether you’re preparing it for a romantic evening, a family celebration, or simply to satisfy your sweet tooth, this iconic cake never fails to impress.
In this comprehensive guide, you’ll learn everything there is to know about baking the perfect red velvet cake at home—from the ingredients and technique to storage tips, fun variations, and expert insights.
Why Red Velvet Cake is So Special
Red velvet cake isn’t your average chocolate dessert. What sets it apart is a unique combination of ingredients and textures that produce a delightfully moist crumb, a subtle tang, and a rich, velvety finish. Here’s why it’s such a standout:
- Subtle Cocoa Flavor: It offers a mild chocolatey taste without overwhelming sweetness.
- Striking Red Hue: Traditionally achieved with food coloring or beet juice, this color makes it an instant eye-catcher.
- Tangy Undertone: Thanks to buttermilk and vinegar, the cake has a distinctive tartness that pairs beautifully with the sweetness of the frosting.
- Ultra-Moist Texture: Vegetable oil and buttermilk keep the cake soft and tender.
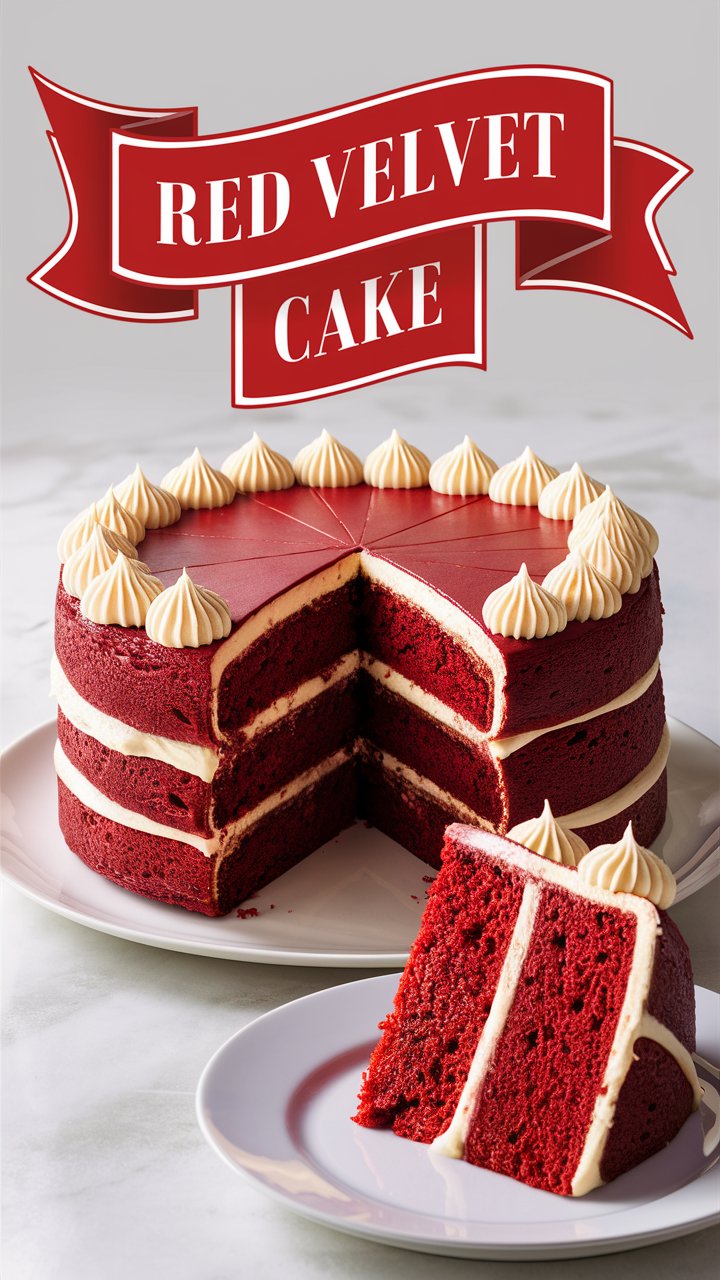
- Iconic Frosting: Red velvet is almost always topped with cream cheese frosting, which provides a rich, slightly tangy contrast.
Red Velvet Cake Origins: A Sweet Slice of History
The exact origins of red velvet cake are a topic of debate, but it’s generally agreed that this dessert rose to fame in the 1920s. Some believe it was first popularized at the Waldorf-Astoria Hotel in New York, while others trace its roots to Southern U.S. cuisine.
In the past, red velvet cake achieved its color from a natural reaction between non-Dutch-processed cocoa and acidic ingredients like vinegar and buttermilk. Today, food coloring is typically used to enhance that dramatic red hue.
Key Ingredients You Need
Here’s a breakdown of what you need to bake an exceptional red velvet cake from scratch:
For the Cake:
- 2 ½ cups (310g) all-purpose flour
- 1 ½ cups (300g) granulated sugar
- 1 tsp baking soda
- 1 tsp fine salt
- 1 tbsp natural unsweetened cocoa powder
- 1 cup (240ml) vegetable oil
- 1 cup (240ml) buttermilk (room temperature)
- 2 large eggs (room temperature)
- 2 tbsp (30ml) red food coloring
- 1 tsp white vinegar
- 2 tsp vanilla extract
For the Cream Cheese Frosting:
- 8 oz (225g) full-fat cream cheese (softened)
- ½ cup (115g) unsalted butter (softened)
- 2 cups (250g) powdered sugar (sifted)
- 1 tsp vanilla extract
Step-by-Step Instructions
Step 1: Preheat and Prepare
- Preheat your oven to 350°F (175°C).
- Grease two 9-inch round cake pans and line the bottoms with parchment paper for easy removal.
Step 2: Combine Dry Ingredients
- In a large mixing bowl, whisk together flour, sugar, cocoa powder, baking soda, and salt.
Step 3: Mix Wet Ingredients
- In a separate bowl, whisk together the oil, buttermilk, eggs, food coloring, vinegar, and vanilla extract until fully combined.
Step 4: Combine Mixtures
- Gradually add the dry mixture to the wet ingredients.
- Mix just until combined. Avoid overmixing to keep the texture light.
Step 5: Bake the Cake
- Divide the batter evenly between the two pans.
- Bake for 30–35 minutes or until a toothpick inserted into the center comes out clean.
- Allow the cakes to cool in pans for 10 minutes, then transfer to a wire rack.
Step 6: Prepare the Frosting
- In a large bowl, beat the cream cheese and butter until smooth.
- Add powdered sugar gradually and mix until fluffy.
- Stir in the vanilla extract.
Step 7: Assemble and Frost
- Level the cakes if necessary.
- Place one layer on a cake stand, add a generous layer of frosting, then top with the second layer.
- Frost the entire cake evenly. Decorate with red velvet crumbs or your preferred toppings.
Expert Baking Tips
- Use gel food coloring for a richer hue without affecting texture.
- Room temperature ingredients ensure even mixing and better consistency.
- Don’t skip the vinegar. It reacts with baking soda to create a light and airy crumb.
- Chill the cake before slicing for cleaner cuts and better presentation.
- Use cake flour for an even softer texture if available.
Flavor Variations
Want to give your red velvet cake a unique spin? Try one of these delicious twists:
- Red Velvet Cupcakes: Perfect for parties; bake for 18–20 minutes.
- Chocolate Chip Red Velvet: Fold in 1/2 cup mini chocolate chips for extra richness.
- Oreo Red Velvet Cake: Add crushed Oreos to the frosting for a cookies-and-cream vibe.
- Red Velvet Cheesecake: Layer with a thin cheesecake filling for a decadent surprise.
- Spicy Red Velvet: Add a pinch of cayenne for a fun, spicy kick.
Serving Suggestions
Serve your red velvet cake with:
- A scoop of vanilla bean ice cream
- A drizzle of dark chocolate ganache
- A handful of fresh raspberries or strawberries
- A steaming cup of espresso or black coffee
Storage & Freezing Instructions
Refrigeration:
- Store covered in the refrigerator for up to 5 days.
- Let it come to room temperature before serving.
Freezing:
- Wrap unfrosted layers tightly in plastic wrap, then foil.
- Freeze for up to 3 months.
- Thaw in the refrigerator overnight before frosting.
FAQs About Red Velvet Cake
1. Can I make this without food coloring?
Yes! The cake will turn out a light brown color, but the flavor remains the same.
2. What if I don’t have buttermilk?
Substitute with 1 cup milk + 1 tbsp vinegar or lemon juice. Let it sit for 5 minutes before using.
3. Why does my cake turn out dry?
Dry cakes often result from overbaking or using too much flour. Always measure carefully and check for doneness early.
4. Can I use natural cocoa powder?
Yes. Natural cocoa reacts better with vinegar and baking soda, enhancing texture and color.
5. Can I make this gluten-free?
Absolutely! Use a gluten-free all-purpose flour blend designed for baking.
6. What’s the best frosting alternative?
While cream cheese is traditional, you can also use buttercream, whipped cream, or mascarpone-based frosting.
Final Thoughts
Red velvet cake isn’t just a dessert—it’s an experience. From its smooth, vibrant layers to its rich, tangy frosting, every bite is indulgent and memorable. Whether you’re a seasoned baker or a beginner, this guide gives you all the tools to create a flawless red velvet cake that your friends and family will talk about long after the last slice.