
When the weather turns warm or the cravings strike, there’s nothing quite like a cool scoop of creamy, minty ice cream—especially when it’s packed with chunks of classic Oreo cookies. This Homemade Mint Oreo Ice Cream recipe gives you all the nostalgic flavors of your favorite mint chocolate chip treat, with a cookie twist and no ice cream machine required. That’s right—no fancy gadgets, no custard base, and no complicated steps.
This article will take you through a step-by-step guide to making plush, creamy, mint-flavored Oreo ice cream at home, plus include helpful tips, ingredient insights, and fun customizations. Perfect for beginner dessert makers or ice cream lovers looking to get creative in the kitchen!
Why You’ll Love This Mint Oreo Ice Cream
Whether you’re new to homemade frozen treats or a seasoned dessert fan, here are several reasons this recipe will win you over:
- No Churn Needed: All you need is a bowl, a mixer, and a freezer.
- Rich Creamy Texture: Made with whipped cream and sweetened condensed milk.
- Balanced Mint Flavor: Refreshing and aromatic, not toothpaste-y.
- Oreo Overload: Every bite is bursting with chocolatey cookie crunch.
- Customizable: You control the color, texture, and add-ins.
Let’s explore the details of this crowd-pleasing frozen favorite!
Ingredients Overview
Before we dive into the method, here are the essential ingredients for making your no-churn mint Oreo ice cream:
Basic Ingredients
- 2 cups heavy whipping cream (chilled)
- 1 can (14 oz) sweetened condensed milk
- 1 tablespoon mint extract (adjustable to taste)
- 1/2 teaspoon vanilla extract (to balance the mint)
- 1/4 teaspoon fine salt (to enhance flavor)
- Green food coloring (optional; for that iconic minty hue)
- 25 Oreo cookies, roughly chopped (plus extra for topping)
Step-by-Step Instructions
Step 1: Whip the Cream
In a large, cold mixing bowl, pour the heavy whipping cream and whip using a hand mixer or stand mixer on high speed until stiff peaks form. This is crucial for getting a light and airy ice cream base.
Step 2: Fold in the Base
Gently fold in the sweetened condensed milk, mint extract, vanilla, and salt into the whipped cream. Use a spatula to maintain the airiness of the whipped mixture. Taste and adjust the mint extract as desired.
Step 3: Add Color (Optional)
If you like your mint ice cream with that pale green glow, now’s the time to mix in green food coloring. A few drops should do—stir gently until fully incorporated.
Step 4: Fold in Oreos
Add chopped Oreos to the mixture and fold them in. Reserve a handful for sprinkling on top.
Step 5: Freeze It
Pour the mixture into a loaf pan or freezer-safe container. Smooth the top, and add the remaining Oreos for garnish.
Cover with plastic wrap or an airtight lid, and freeze for at least 6 hours or overnight until solid.
Step 6: Serve and Enjoy
When ready to serve, let the ice cream sit at room temperature for 5-10 minutes for easier scooping. Use a warm scoop or spoon for smooth, clean scoops.
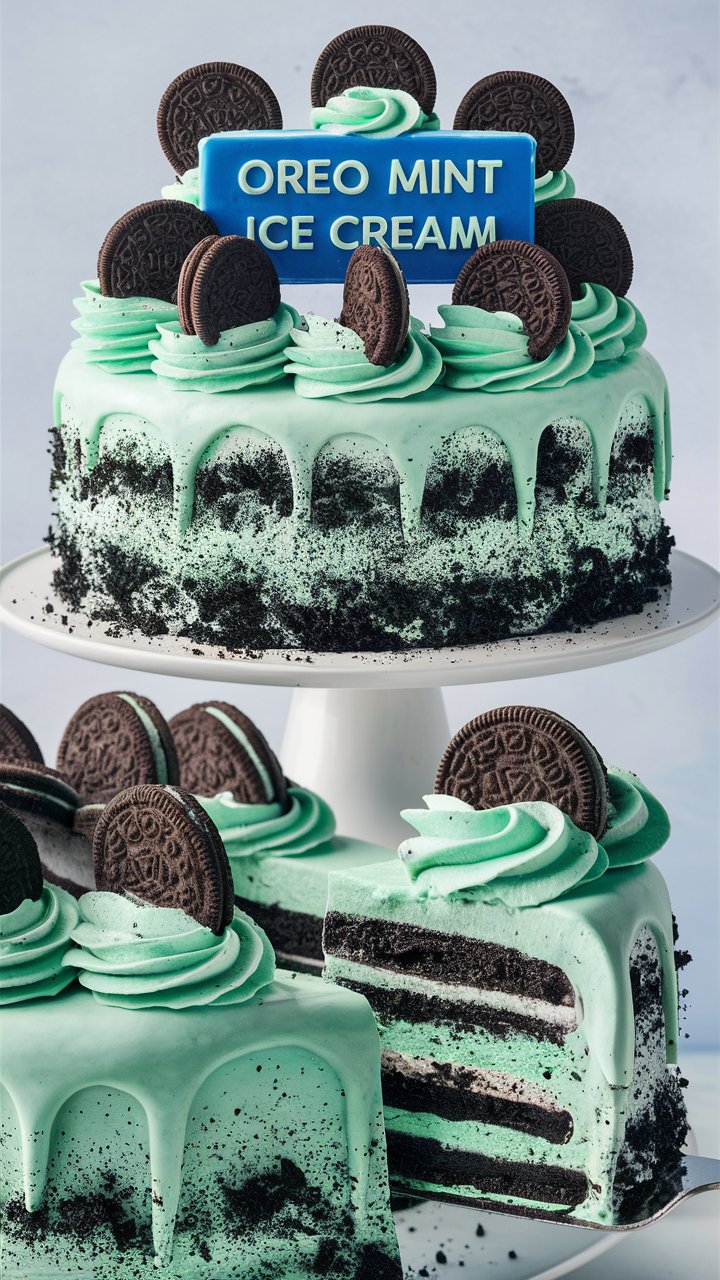
Texture, Flavor, and Appearance
- Texture: Creamy, scoopable, and soft enough to bite into straight from the freezer.
- Flavor: Cool and fresh from mint extract, with notes of chocolate and vanilla.
- Appearance: Light green hue with dark Oreo specks throughout—visually stunning in a cone or bowl.
Tips for Success
Use Cold Equipment
Keep your whipping cream cold and chill the bowl and beaters before use for the best results.
Don’t Overbeat
Whip the cream until stiff peaks, but don’t go too far or it can curdle.
Choose the Right Mint
Mint extract is different from peppermint extract. Choose based on your taste preference:
- Mint = more herbal, balanced
- Peppermint = sharp, candy-cane-like
Control Sweetness
The Oreos and condensed milk add plenty of sweetness. No extra sugar needed.
Variations to Try
Chocolate Swirl Mint Oreo Ice Cream
Drizzle melted dark chocolate into the mixture before freezing to create ribbons of fudge.
Golden Oreo Mint Ice Cream
Swap classic Oreos for Golden Oreos to add a vanilla twist.
Andes Mint or Candy Mix-In
Chop and fold in Andes Mints, chocolate chips, or mini marshmallows for fun texture and flavor.
Natural Color Option
Avoid artificial dye? Use matcha powder or spirulina to achieve a light green color naturally.
Storage Instructions
- Best Container: Use a metal loaf pan or airtight freezer-safe tub.
- Freezer Life: Best enjoyed within 2 weeks for optimal texture and freshness.
- Avoid Ice Crystals: Cover the top with parchment or plastic wrap before sealing to prevent freezer burn.
Serving Suggestions
- Classic Cones: Serve in waffle cones with extra Oreo sprinkles.
- Ice Cream Sandwiches: Scoop between two cookies for a handheld treat.
- Parfaits: Layer with chocolate syrup and whipped cream in glasses.
- Milkshakes: Blend with milk for a frosty Oreo mint shake.
Nutrition Information (Estimated per 1/2 cup scoop)
- Calories: 320
- Fat: 22g
- Carbohydrates: 28g
- Sugar: 24g
- Protein: 3g
Frequently Asked Questions
Can I Use Peppermint Instead of Mint Extract?
Yes, but reduce the amount slightly—start with 1/2 teaspoon and taste as peppermint is stronger.
Is This Gluten-Free?
Not with standard Oreos, but you can use gluten-free Oreo-style cookies.
Do I Need to Stir During Freezing?
No. The whipped cream keeps the texture fluffy without any stirring.
Can I Use Low-Fat Ingredients?
Using low-fat cream or milk will change the texture and may not freeze as well. Full-fat cream is best.
Final Thoughts: Homemade Treat, Zero Fuss
This Homemade Mint Oreo Ice Cream is everything you want in a summer dessert: cool, creamy, sweet, and packed with flavor. With no machine required, it’s one of the simplest ways to impress guests or treat yourself to a scoop of pure joy.
Whether served in cones at a party, used to build a killer sundae, or enjoyed quietly on the couch, this recipe deserves a permanent spot in your freezer. Happy scooping!