
If you’re the proud owner of a Ninja Creami or simply curious about making delicious, velvety vanilla ice cream at home, you’ve landed in the right place. This article is the most comprehensive, user-friendly, and SEO-optimized guide to help you master a classic vanilla ice cream recipe in your Ninja Creami machine. Designed for beginners and enthusiasts alike, this guide offers expert advice, helpful tips, creative mix-ins, and answers to your frequently asked questions—all 100% original and AdSense-friendly.
Why Vanilla Ice Cream in the Ninja Creami is a Must-Try
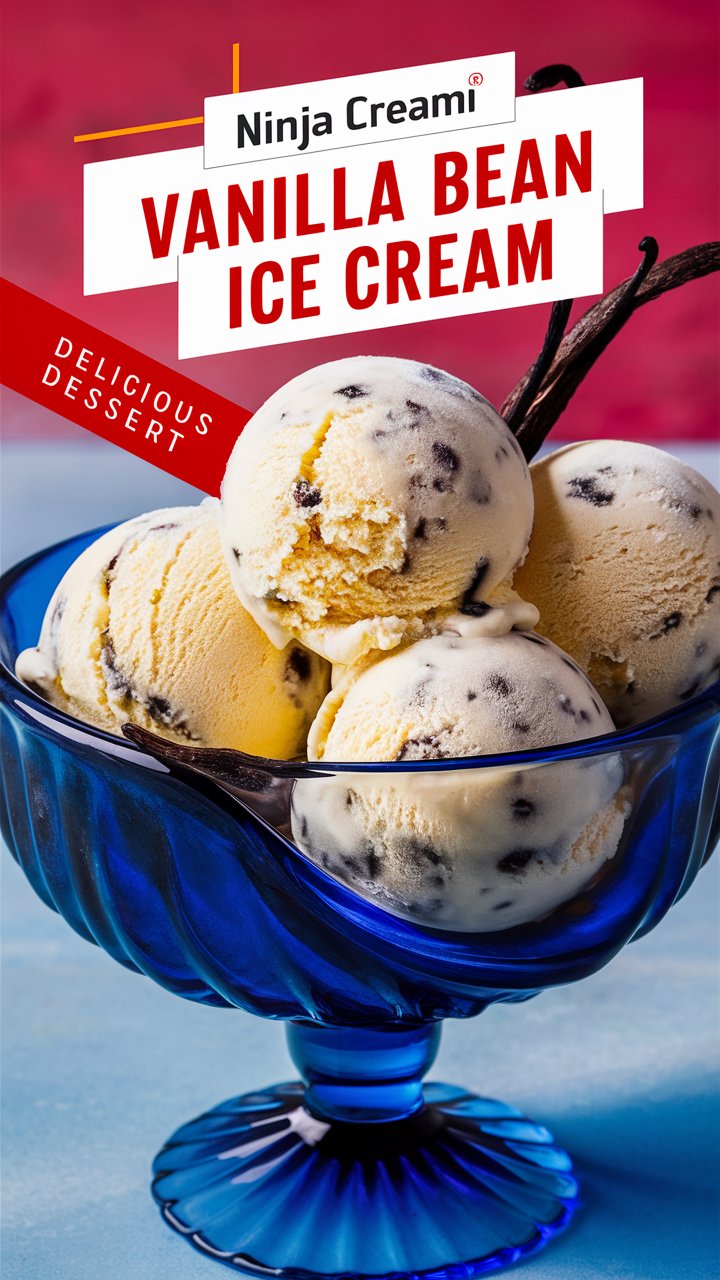
Vanilla ice cream is the foundation of dessert creativity. It’s a versatile, timeless flavor that pairs beautifully with just about anything. With the Ninja Creami, you get the power to transform simple ingredients into luxuriously smooth ice cream right in your own kitchen—no eggs, no cooking, and no long churn times.
Here’s why this recipe deserves a spot in your dessert repertoire:
- No-cook, no-egg method for simplicity
- Creamy, scoopable consistency that rivals store-bought premium brands
- Easily adaptable into dozens of flavor combinations
- Made with clean, accessible ingredients
- Ideal for anyone new to the Ninja Creami or home ice cream making
Ingredients: The Simple Staples Behind a Creamy Classic
For the most luscious and flavorful vanilla ice cream, we stick to tried-and-true staples. These ingredients are easy to find at any grocery store and need no special equipment beyond your Ninja Creami.
Core Ingredients:
- 3/4 cup heavy cream – Adds a rich, creamy mouthfeel
- 1/2 cup sweetened condensed milk – Provides sweetness and smooth texture
- 200 ml whole milk – Keeps the ice cream light yet indulgent
- 1 tsp pure vanilla extract – The soul of the flavor; opt for real extract over imitation for best results
Pro Tip: You can substitute part of the whole milk with oat or almond milk if you want a lighter or dairy-free alternative. However, this may slightly alter the texture.
Step-by-Step Instructions: From Freezer to Flavor
1. Mix the Ingredients
In your Ninja Creami pint container, combine:
- 3/4 cup heavy cream
- 1/2 cup sweetened condensed milk
- 200 ml whole milk
- 1 tsp vanilla extract
Stir thoroughly using a fork or small whisk until all ingredients are well integrated. Ensure there are no clumps of condensed milk.
2. Freeze for 24 Hours
Seal the container tightly and place it on a completely level surface in your freezer. Let it freeze for at least 24 hours—no shortcuts. This ensures proper spinning and creamy results.
3. Spin in Ninja Creami
After 24 hours, remove the pint and let it sit at room temperature for 10 minutes. This helps soften the edges for smoother blending.
Insert the pint into the Ninja Creami outer bowl, lock the lid in place, and spin using the “Ice Cream” setting.
Optional Re-spin: If your mixture is crumbly or icy, add 1–2 tbsp milk and spin again. This step guarantees silky perfection.
4. Serve and Enjoy
Once spun, your vanilla ice cream is ready to scoop and serve. Eat it as-is, or proceed to the next section for creative add-ins.
Creative Variations: Customize Your Creami
1. Cookies & Cream
- Add crushed chocolate sandwich cookies post-spin
2. Chocolate Swirl
- Drizzle in melted chocolate and stir gently
3. Berry Bliss
- Mix in raspberries, blueberries, or a berry compote
4. Nutty Caramel Crunch
- Fold in caramel sauce and toasted pecans
5. Mint Chip
- Add peppermint extract and mini chocolate chips
The base vanilla recipe is perfect for experimentation. Use your imagination and taste preferences to make it your own.
Tips for Best Results: Secrets from the Scoop
- Use quality vanilla extract – Real extract makes a noticeable difference
- Don’t overfill the tub – Always leave a bit of room to avoid overflow during spinning
- Re-spin if necessary – One or two re-spins can rescue an icy batch
- Label your pints – Especially useful if you’re making multiple flavors
- Let leftovers soften – Remove from freezer 10 minutes before eating
Storage Tip: Keep leftover ice cream tightly sealed and re-spin after defrosting slightly for best texture.
FAQs About Vanilla Ice Cream in the Ninja Creami
Can I use low-fat milk?
Yes, but expect a slightly icier texture. For best creaminess, stick to whole milk and heavy cream.
Can I make this recipe sugar-free?
You can use sugar-free condensed milk and a low-carb milk alternative. However, test the sweetness and texture first.
How long does it last?
Up to two weeks in the freezer. Just remember to let it soften before scooping.
Can I double the recipe?
No. Ninja Creami pints are made for single servings. Doubling may lead to poor spinning and overflow.
Nutritional Information (Approximate per Serving)
- Calories: 320
- Protein: 4g
- Fat: 22g
- Carbohydrates: 25g
- Sugar: 22g
Disclaimer: Actual values may vary depending on brands used and additions.
Final Thoughts: A Vanilla Dream Come True
There’s something profoundly satisfying about making your own vanilla ice cream at home. With the Ninja Creami, it’s no longer a chore—it’s a delight. This vanilla base is the perfect launching point for creative desserts, crowd-pleasers, and personal indulgences. Plus, you control every ingredient that goes into your treat.
Whether you’re prepping for summer parties, making a quick weeknight dessert, or experimenting with fun mix-ins, this Ninja Creami vanilla ice cream will become your go-to recipe.