
A perfect pie deserves a perfect crust. Whether you’re building a luscious cheesecake, a refreshing key lime pie, or a nostalgic banana cream dessert, the foundation matters just as much as the filling. That’s where a homemade graham cracker crust comes in—a buttery, crunchy, flavorful base that transforms your dessert from good to unforgettable.
In this comprehensive guide, you’ll learn how to make the ultimate graham cracker crust from scratch. Whether you choose the baked or no-bake route, this article covers ingredients, step-by-step instructions, expert tips, storage guidance, and innovative flavor variations—all optimized for home cooks and baking lovers alike.
Why Make a Graham Cracker Crust from Scratch?
There’s no denying the convenience of store-bought crusts, but once you make your own, you’ll never go back. Here’s why:
- Fresh Flavor: Homemade crusts offer a rich, buttery taste that pre-packaged ones lack.
- Adjustable Texture: You control the thickness and crunch.
- Customization: Add spices, nuts, or alternative cookies for a personalized twist.
- No Preservatives: Just wholesome, simple ingredients.
Ingredients You’ll Need
Making this crust only requires three essential ingredients:
- Graham Cracker Crumbs: 1 1/2 cups (about 10–12 crackers)
- Melted Butter: 1/3 cup (unsalted preferred)
- Granulated Sugar: 1/4 cup (white or light brown)
Optional Add-Ins:
- A pinch of salt (if using unsalted butter)
- 1/2 tsp cinnamon for warmth
- Finely chopped nuts for added crunch
How to Make the Perfect Graham Cracker Crust
Step 1: Crush the Graham Crackers
You can either:
- Use a food processor for fine crumbs
- Place crackers in a ziplock bag and crush with a rolling pin
Aim for a texture similar to coarse sand.
Step 2: Mix the Ingredients
In a medium bowl:
- Combine the graham cracker crumbs and sugar
- Pour in the melted butter
- Mix with a fork until the crumbs are evenly moistened
The mixture should clump together when pressed between your fingers.
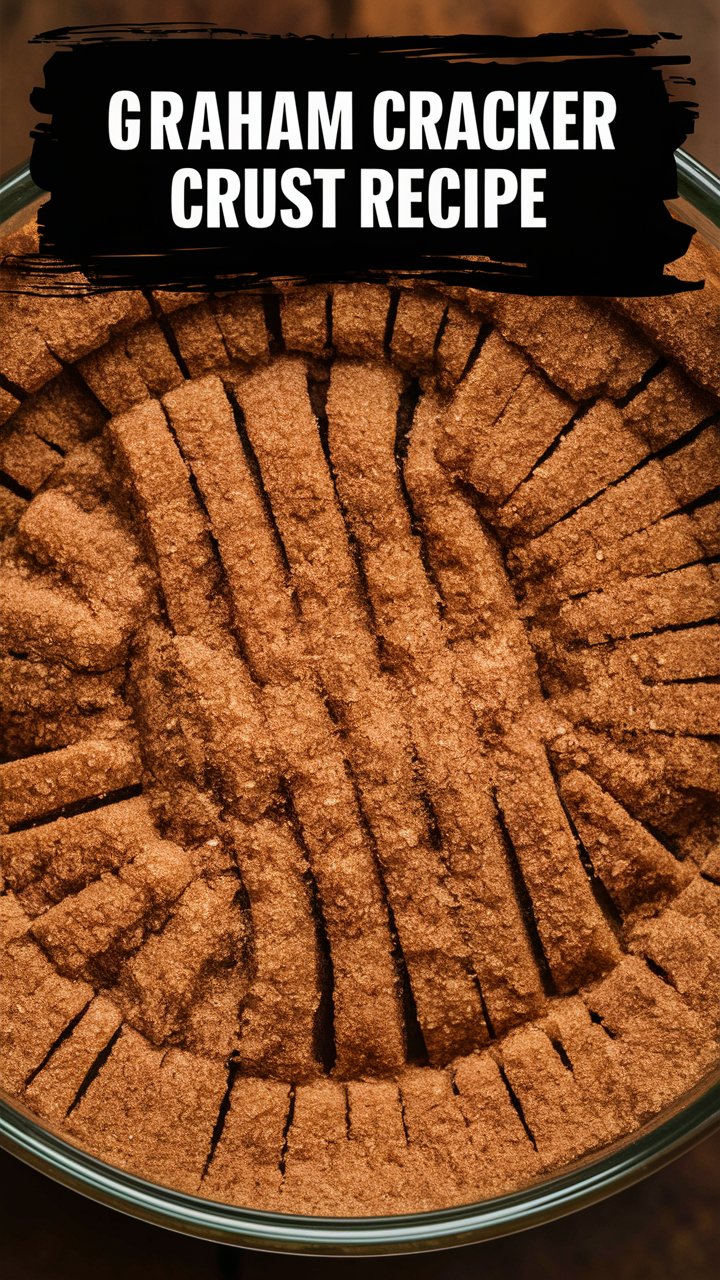
Step 3: Press into the Pan
Pour the crumb mixture into your baking dish—typically a 9-inch pie plate or springform pan.
Use the bottom of a flat glass or measuring cup to press the crumbs evenly across the bottom and up the sides.
Step 4: Bake or Chill
- For a baked crust: Bake at 350°F (175°C) for 8–10 minutes. Let cool before filling.
- For a no-bake crust: Refrigerate for at least 30 minutes before filling.
When to Bake and When to Chill
| Use Case | Method |
|---|---|
| Cheesecakes | Baked crust preferred for stability |
| Icebox Pies | No-bake works beautifully |
| Wet Fillings | Baked crust helps prevent sogginess |
| Quick Desserts | Chill-and-go crust saves time |
Expert Tips for Success
1. Pack the Crumbs Firmly
A loose crust will crumble when sliced. Use pressure when packing to ensure it holds together.
2. Use Enough Butter
Butter acts as the glue that binds the crumbs. If the mix looks dry, add 1–2 extra tablespoons.
3. Cool Before Filling
Whether baked or chilled, always allow your crust to fully set before adding your filling.
4. Prevent Sticking
Lightly grease the pan or line the bottom with parchment paper for easy removal.
Fun Variations to Try
Why stop at classic when you can get creative?
Chocolate Crust
- Replace regular graham crackers with chocolate-flavored ones
Nutty Delight
- Mix in 1/4 cup finely chopped almonds, walnuts, or pecans
Cinnamon Swirl
- Add 1/2 tsp ground cinnamon and use brown sugar for a warm, cozy flavor
Oreo Crust
- Substitute with crushed Oreos (remove filling for firmer texture)
Best Desserts That Use Graham Cracker Crust
- New York Cheesecake
- Key Lime Pie
- Chocolate Cream Pie
- Lemon Icebox Pie
- S’mores Tart
Each of these desserts benefits from the crust’s buttery crunch and slightly sweet profile.
Storing & Freezing
To Refrigerate:
- Store an unfilled crust in the fridge for up to 3 days, covered tightly with plastic wrap.
To Freeze:
- Wrap the crust in plastic wrap and then aluminum foil
- Freeze for up to 2 months
- Thaw in the fridge before using
Frequently Asked Questions (FAQs)
1. Can I make it gluten-free?
Yes, use certified gluten-free graham crackers or cookie alternatives.
2. Can I substitute the sugar?
You can use coconut sugar, brown sugar, or even a drizzle of maple syrup. Avoid using too much liquid sweetener to maintain the right texture.
3. My crust is too crumbly. What happened?
You may need more butter. Add an extra tablespoon of melted butter and re-press it into the pan.
4. How do I get perfect slices?
Use a hot knife (dip in warm water) and wipe between each cut.
5. Can I use this crust for savory pies?
Not ideal. Try a cracker crust using saltines or Ritz-style crackers instead.
Final Thoughts
This graham cracker crust recipe is the gateway to endless dessert possibilities. It’s quick, easy, and can be customized to match any pie filling you love. With only three base ingredients and a few optional tweaks, this crust will elevate your homemade desserts to a whole new level.
Whether you’re baking a classic cheesecake or preparing a chilled summer tart, the right crust sets the tone. So, ditch the store-bought and embrace the homemade advantage—your tastebuds (and your guests) will thank you.