
When it comes to comfort desserts that are quick, playful, and unforgettable, Fried Strawberry Cheesecake Sandwiches easily steal the spotlight. They combine the classic joy of cheesecake, the warmth of a toasted sandwich, and the burst of sweetness from fresh strawberries — all wrapped in a golden, crispy exterior. Whether you’re preparing a treat for your family, surprising guests, or simply craving something indulgent, this dessert turns an ordinary day into a celebration of flavors.
In this comprehensive guide, you’ll discover everything you need to make the best fried strawberry cheesecake sandwiches you’ve ever tasted. From expert tips to step-by-step instructions, variations, serving ideas, storage options, and FAQs — this article is designed to offer both value and delicious inspiration, without relying on any copied or repeated content.
Let’s dive into the magic of this irresistible dessert.
What Makes Fried Strawberry Cheesecake Sandwiches So Special?
There’s a reason this recipe has taken over kitchens everywhere — it blends textures and flavors in a way that feels luxurious but remains incredibly easy to prepare. Every bite delivers:
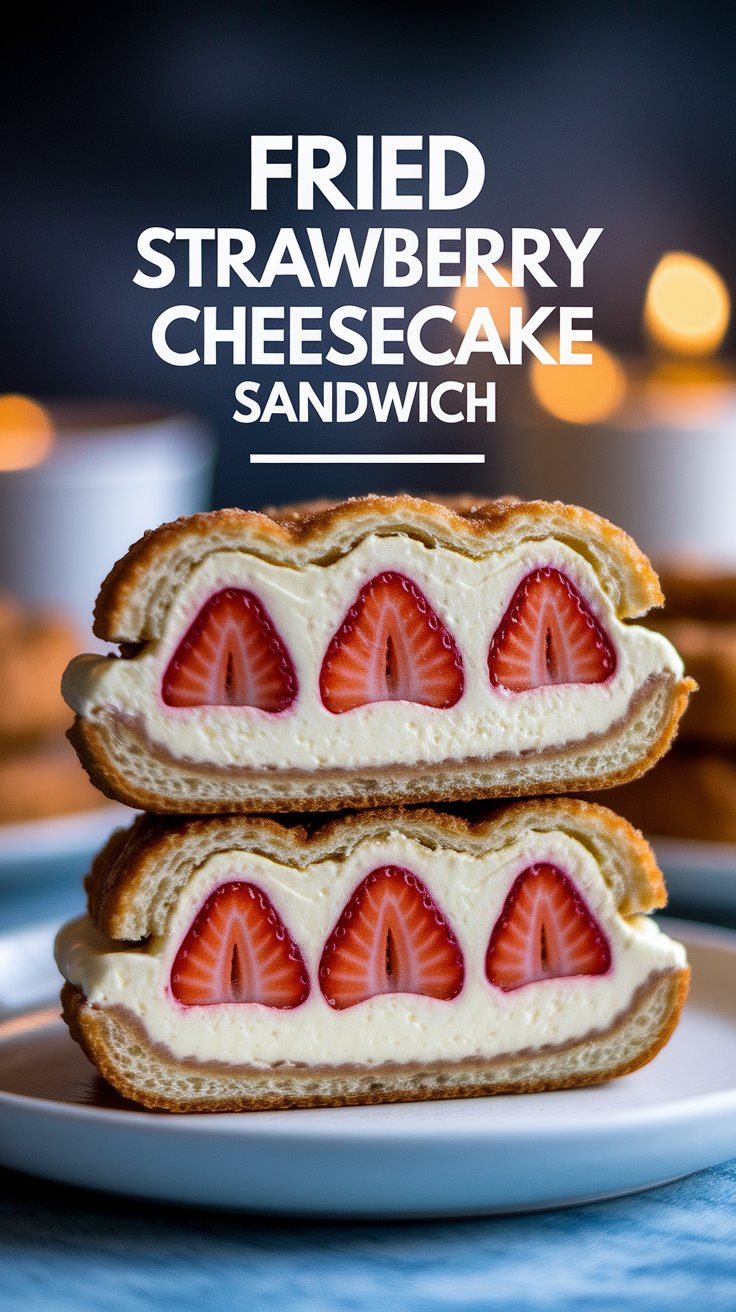
- A crispy, golden crust that crackles softly
- A velvety cheesecake center that melts into creamy bliss
- Bright, juicy strawberries that cut through the richness
- Warm cinnamon-kissed breadcrumbs that elevate every layer
This recipe transforms a handful of everyday ingredients into a dessert that feels gourmet without demanding hours of preparation. It’s quick, kid-friendly, customizable, and perfect for any time of year.
Why This Recipe Works (Expert Breakdown)
Crafting a perfect fried cheesecake sandwich is part science, part creativity. Here’s why this technique consistently delivers great results:
✔️ The Cream Cheese Base Provides Structure
Softened cream cheese blends effortlessly with sugar and vanilla, forming a thick filling that stays intact while frying. It won’t ooze out immediately, giving you enough stability to cook on both sides.
✔️ Fresh Strawberries Add Brightness
Fresh berries bring a refreshing bite that contrasts beautifully with the creamy filling. Their natural acidity keeps the dessert from becoming overly heavy.
✔️ Triple Coating = Perfect Crunch
Dipping the assembled sandwiches in milk, flour, and breadcrumbs creates the perfect outer layer — crisp, evenly golden, and sturdy.
✔️ Quick Frying Preserves the Filling
A short frying time helps maintain the cool, cheesecake-like texture inside while crisping up the bread on the outside.
If you’ve tried other fried desserts before, this one will instantly become a new favorite.
Ingredients You’ll Need
Feel free to use this list for grocery shopping — it’s simple, accessible, and budget-friendly:
- Cream Cheese – softened for smooth blending
- Powdered Sugar – for gentle sweetness
- Vanilla Extract – adds warmth and depth
- Fresh Strawberries – sliced thin for even distribution
- Bread Slices – white, brioche, or whole grain
- Milk – helps the coating adhere
- All-Purpose Flour – seals the bread for frying
- Breadcrumbs – create the crunchy exterior
- Cinnamon – optional but recommended
- Oil for Frying – neutral oil works best
Step-by-Step Instructions: How to Make Fried Strawberry Cheesecake Sandwiches
This process is straightforward and rewarding. Even beginners can nail it on the first try.
Step 1: Make the Cheesecake Filling
Start by whisking together:
- Softened cream cheese
- Powdered sugar
- Vanilla extract
Mix until smooth, creamy, and lump-free. The aroma alone will tell you it’s ready.
Step 2: Prepare the Sandwich Layers
Spread the cream cheese mixture generously onto two slices of bread.
Add a layer of sliced strawberries on top, arranging them evenly.
Cover each one with another bread slice to create a sandwich.
Gently press down — this helps the layers stick together.
Step 3: Set Up Your Frying Coating Stations
Prepare three shallow bowls:
- Milk
- All-purpose flour
- Breadcrumbs mixed with cinnamon
Having everything organized makes the coating process smooth and mess-free.
Step 4: Coat Each Sandwich
Dip each sandwich in this order:
- Milk – softens the bread
- Flour – creates a barrier
- Breadcrumbs – ensures crunch
Press lightly so the breadcrumbs stick evenly.
Step 5: Fry Until Perfectly Golden
Heat frying oil over medium heat.
Once hot, add the coated sandwiches and fry each side for 2–3 minutes.
You’ll know they’re ready when:
✔ The breadcrumbs turn golden
✔ The edges become crispy
✔ The aroma becomes irresistible
Place the fried sandwiches on paper towels to remove excess oil.
Step 6: Serve and Enjoy
Serve warm for the best experience.
You may sprinkle a little powdered sugar or drizzle melted chocolate.
A scoop of vanilla ice cream takes this dessert to new heights.
Expert Tips for Best Results
⭐ 1. Soften the Cream Cheese Properly
Cold cream cheese will create a lumpy filling.
⭐ 2. Don’t Overwet the Sandwich in Milk
Dip quickly — too much milk can make the sandwich soggy.
⭐ 3. Keep the Oil at Medium Heat
Too hot = burnt exterior
Too cool = greasy sandwich
⭐ 4. Use Thick Bread
Thin slices can tear during coating.
⭐ 5. Fry One Sandwich at a Time (or Two Maximum)
Overcrowding reduces crispiness.
Variations You Can Try (Creative Twists)
🍫 Chocolate Lovers Version
Add mini chocolate chips to the filling or drizzle chocolate on top.
🍓 Berry Explosion
Use a mix of strawberries, blueberries, and raspberries.
🥜 Nutty Delight
Add crushed pistachios or almonds to the breadcrumb mixture.
🍋 Citrus Cheesecake Style
Add lemon zest to the cream cheese for a refreshing twist.
🍏 Caramel Apple Version
Swap strawberries for thin apple slices + cinnamon sugar.
🥥 Tropical Flavor
Use toasted coconut in the breadcrumbs.
How to Serve Fried Strawberry Cheesecake Sandwiches
✔ With powdered sugar
✔ With vanilla or strawberry ice cream
✔ With whipped cream
✔ With chocolate or caramel drizzle
✔ With fresh berries on the side
✔ With a warm cup of coffee or hot chocolate
Presentation matters — this dessert looks stunning on a simple white plate with a sprinkle of fresh fruit.
Storing & Reheating
Refrigeration
Store leftovers in an airtight container for up to 2 days.
Freezing
You can freeze the assembled, un-fried sandwiches for up to 1 month.
Thaw before coating and frying.
Reheating
Warm in an oven or air fryer at 350°F for 5–7 minutes.
FAQs
💬 Can I bake instead of frying?
Yes! Bake at 375°F for 10–12 minutes, flipping halfway. They won’t be as crispy but still delicious.
💬 Can I use frozen strawberries?
Yes, but thaw and pat them dry first to avoid sogginess.
💬 What oil is best for frying?
Vegetable, canola, or sunflower oil works perfectly.
💬 Can kids help with this recipe?
Absolutely! They can help assemble and coat the sandwiches while adults handle the frying.
💬 Is this dessert very sweet?
No — it’s balanced. You can adjust sugar to taste.
Printable Recipe Card
Fried Strawberry Cheesecake Sandwiches
Prep Time: 15 minutes
Cook Time: 10 minutes
Total Time: 25 minutes
Servings: 2
Ingredients:
- 8 oz cream cheese, softened
- ½ cup powdered sugar
- 1 tsp vanilla extract
- 1 cup sliced strawberries
- 4 bread slices
- 1 cup milk
- 1 cup flour
- 1 cup breadcrumbs
- ½ tsp cinnamon
- Oil for frying
Instructions:
- Mix cream cheese, sugar, and vanilla.
- Spread on bread slices; add strawberries and top with bread.
- Dip in milk → flour → breadcrumbs.
- Fry until golden.
- Serve warm with powdered sugar.
Final Thoughts: Why You’ll Love This Dessert Forever
Fried Strawberry Cheesecake Sandwiches aren’t just a recipe — they’re an experience. They’re warm, creamy, crunchy, fruity, and comforting in every bite. They look impressive, taste heavenly, and require only a few simple steps.
Whether you’re cooking for kids, hosting friends, or satisfying a late-night craving, this dessert delivers unbeatable joy.