
If you’ve been on the hunt for the perfect homemade banana ice cream using your Ninja Creami, you’ve landed in the right place. This comprehensive, 100% original guide delivers an indulgently creamy recipe that uses fresh, natural ingredients and no artificial flavors—just rich banana flavor in every spoonful. Whether you’re new to the Ninja Creami or already obsessed, this banana-based treat is a must-try.
Why You’ll Love This Banana Ice Cream Recipe 🍌🍨
- Simple & Natural Ingredients: No pudding mixes, no preservatives—just real, wholesome ingredients.
- Perfect Texture: Thanks to the Ninja Creami’s advanced spinning, the result is scoop-shop smooth.
- Versatile Base: This recipe is delicious as-is but also makes a great base for flavor customizations like chocolate chips, peanut butter swirls, or cookie crumbles.
- Kid-Friendly & Adult-Approved: It’s sweet and satisfying enough to please kids, yet elegant enough for a dinner party dessert.
- Freezer-Friendly: Make it ahead and store it with ease. Just re-spin if needed!
Ingredients You’ll Need
Here’s what you’ll need to create this luscious frozen dessert:
- 2 large ripe bananas (spotted, soft, and sweet)
- 1/2 cup sweetened condensed milk
- 1/2 cup heavy cream
- 1/2 tsp vanilla extract (pure, not imitation)
- A pinch of sea salt (to enhance flavors)
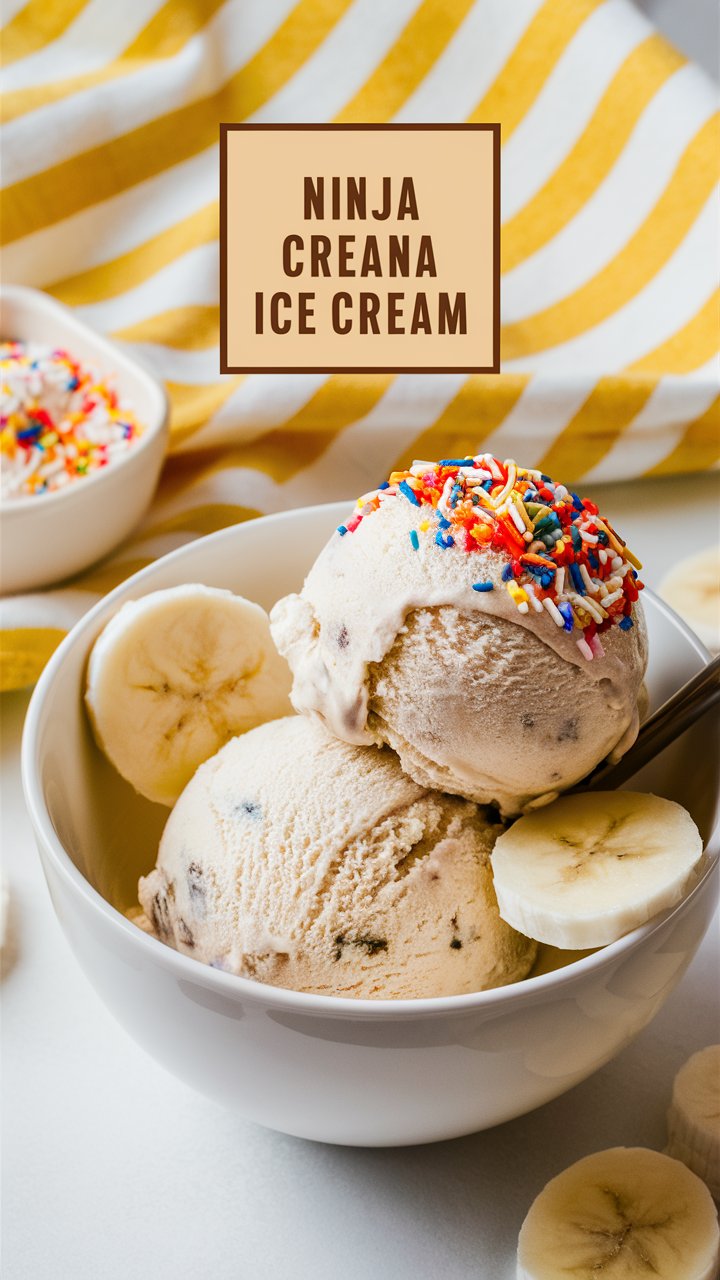
- Optional Mix-ins: Chocolate chips, crushed nuts, caramel swirls, or rainbow sprinkles
Equipment Required
- Ninja Creami Machine
- Creami-compatible pint container
- Mixing bowl and fork or whisk
- Spatula
- Freezer (with flat space to store the container for 24 hours)
How to Make Ninja Creami Banana Ice Cream – Step by Step
Step 1: Mash the Bananas
Peel the ripe bananas and place them in a mixing bowl. Use the back of a fork or a potato masher to mash them until smooth. A few small lumps are okay—it adds to the texture.
Step 2: Add the Remaining Ingredients
Stir in the condensed milk, heavy cream, vanilla extract, and a pinch of sea salt. Mix until the batter is smooth and well combined.
Step 3: Pour Into Ninja Creami Pint
Carefully transfer the mixture into your Ninja Creami container. Secure the lid tightly and place the container on a flat surface in your freezer. Let it freeze for at least 24 hours. Patience is key here!
Step 4: Spin It to Win It
Once frozen solid, remove the pint from the freezer. Let it sit at room temperature for 10–15 minutes. This helps prevent crumbly textures.
Attach the pint to the Ninja Creami machine and use the “Ice Cream” setting. If the result is crumbly, no worries—simply select the “Re-spin” option for a smoother texture.
Step 5: Serve or Customize
Scoop out your banana ice cream and serve immediately. Want to add mix-ins? Create a well in the center, toss in your extras, and use the “Mix-in” setting for even distribution.
Texture Troubleshooting: Tips for Creami Perfection
- Too Icy? Add a splash of heavy cream or milk and re-spin.
- Too Soft? Place it back in the freezer for 30–60 minutes.
- Too Hard to Spin? Let it thaw for a few minutes longer before spinning.
Storage Instructions
- Store leftovers in the Creami container with the lid tightly sealed.
- For best results, re-spin before serving leftovers.
- Avoid adding fresh fruit directly before freezing—it can become icy. Add it during the mix-in phase instead.
Mix-In & Flavor Variations
Take your basic banana ice cream to the next level with these creative add-ins:
Chocolate Lovers 🍫
- Chocolate chips
- Cocoa powder + honey
- Chocolate syrup swirl
Nutty & Nice 🥜
- Crushed walnuts or pecans
- Peanut butter swirls
- Almond extract for a twist
Cookie Crumbles 🍪
- Crushed Oreos
- Graham cracker chunks
- Biscoff cookies
Fruity Additions 🍓
- Strawberry chunks (mix-in only)
- Blueberry compote swirl
- Pineapple bits (drained and dried)
Healthier Modifications 🥄
Want to make a lighter or dairy-free version? Try these:
- Swap heavy cream with full-fat coconut milk for a tropical taste
- Use unsweetened condensed coconut milk for a dairy-free version
- Banana + Greek yogurt combo for a high-protein option
- Add chia seeds or flaxseeds during mixing for extra fiber
Frequently Asked Questions
Can I use green bananas?
No—green bananas are too starchy and not sweet enough. Stick with bananas that have brown spots for maximum flavor.
Can I double the recipe?
No—the Ninja Creami is designed to handle one pint at a time. For a bigger batch, use multiple containers.
Is it safe to use metal mix-ins?
Avoid metal or hard, sharp mix-ins. Stick with soft or crushed add-ins.
Can I reduce the sugar?
Yes—swap condensed milk with a mix of Greek yogurt and honey for a reduced-sugar option.
Is this recipe gluten-free?
Yes! All base ingredients are gluten-free. Just check your mix-ins.
Final Thoughts: Is It Worth Making?
Absolutely. This Ninja Creami banana ice cream recipe is incredibly easy, adaptable, and crowd-pleasing. It strikes the perfect balance between creamy indulgence and fruity freshness, and once you try it, you’ll find yourself making batch after batch.
So whether you’re whipping up a quick weeknight dessert or prepping for a weekend gathering, this recipe guarantees frozen fun in a pint.
Meta Description (for SEO)
Learn how to make the creamiest Ninja Creami banana ice cream using all-natural ingredients—no pudding mix or artificial sweeteners! A perfect frozen treat ready in 24 hours.